A few months ago, I thought to myself, "Self, how hard could it really be to make potato chips?" With a little help from Paula Deen, I decided to give it a go. I've made a few batches since then, and I think I've finally got it down to a science! And you know what? IT'S EASY. You should try it! Here's my step-by-step process with visuals!
Step 1: Put on the new Vera Bradley apron your mom got you on her recent trip to Chicago, then take a crappy picture of yourself in the mirror! (Optional)

Look at the pattern -- what a rockin' apron!

Step 2: Drag out your equipment. Here's what you'll need:
- your trusty dutch oven or other heavy pan (which I did not take a picture of -- sorry!)
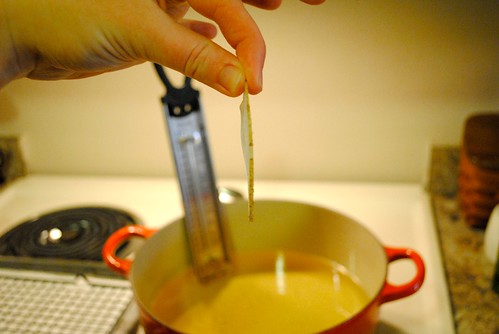
- a candy/frying thermometer
- a jelly roll pan; a few sheets of paper towel; and an upside-down cooling rack, fitted like so:

- a fryer dipper utensil thingy (that's the technical term), which looks like this:

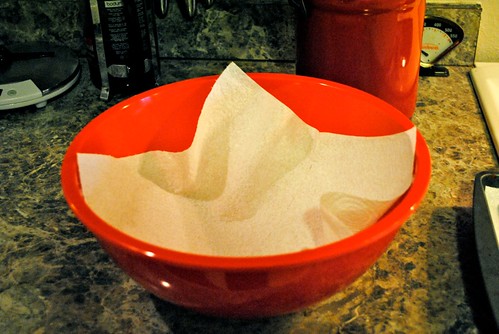
- the largest bowl you have, lined with a sheet of paper towel to soak up the extra frying oil:
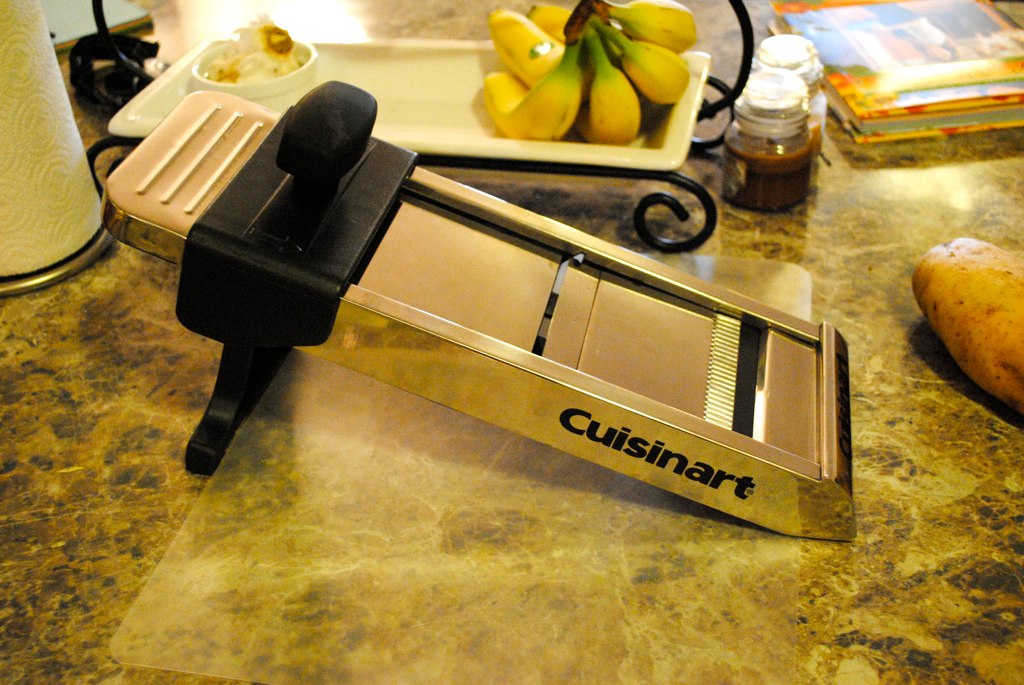
- and your friendly neighborhood mandoline slicer. Pictured is my Cuisinart mandoline, which I absolutely do not recommend at all! I hear the Oxo handheld version is much better, and cheaper, too.
Step 5: Wash the potatoes. Scrub with a vegetable brush. Don't peel! There's no picture of this step -- YOU try taking a photo while scrubbing potatoes! I dare you!
Step 6: Slice the potatoes very thinly. I mean it! We're talking really thin:
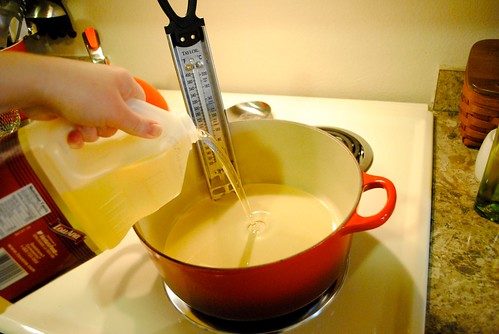
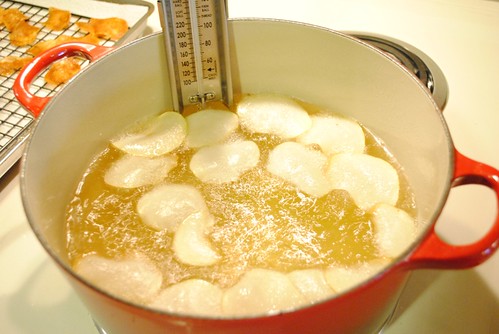
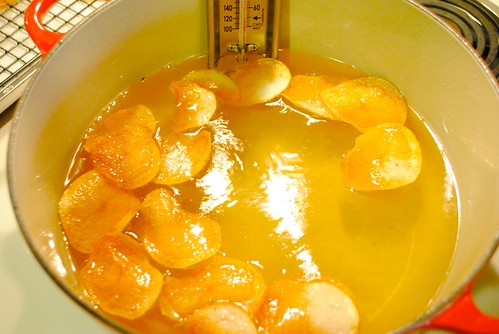
Step 7: When the oil reaches somewhere between 325 and 350 (Fahrenheit, of course), drop in 10-12 potato slices. Take them out when they're done. You'll know they're done when the oil stops bubbling.
Here are the potatoes when they first went in:
Step 8: Transfer each batch of potato chips to your draining rack (the paper towel/cooling rack thingy), and salt immediately -- just get out your regular table salt shaker and give the whole batch about five good shakes. Allow to cool on the draining rack, and periodically move the cooled chips to your bowl when finished.
Step 9: Store in a large bowl covered with plastic wrap. Try to make them last longer than one day.
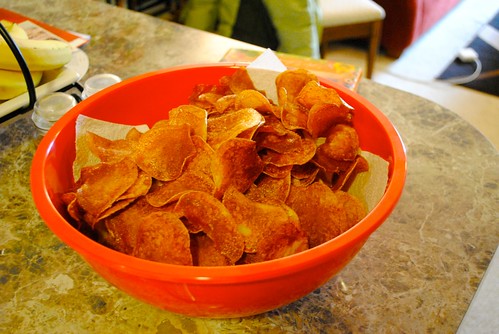
Enjoy!
Leah
So, while these look delicious, and I would eat that entire bowl if you cooked them for me, I don't think I have enough energy to make my own potato chips. This is probably for the best, since I am currently dieting. I am jealous that Ross gets to eat them though.
ReplyDeleteAlso, I like the apron!